Git and GitHub 101: A Beginner's Guide to Version Control and Collaborative Development — Part 2(Branching, Pull Requests, and Merging)


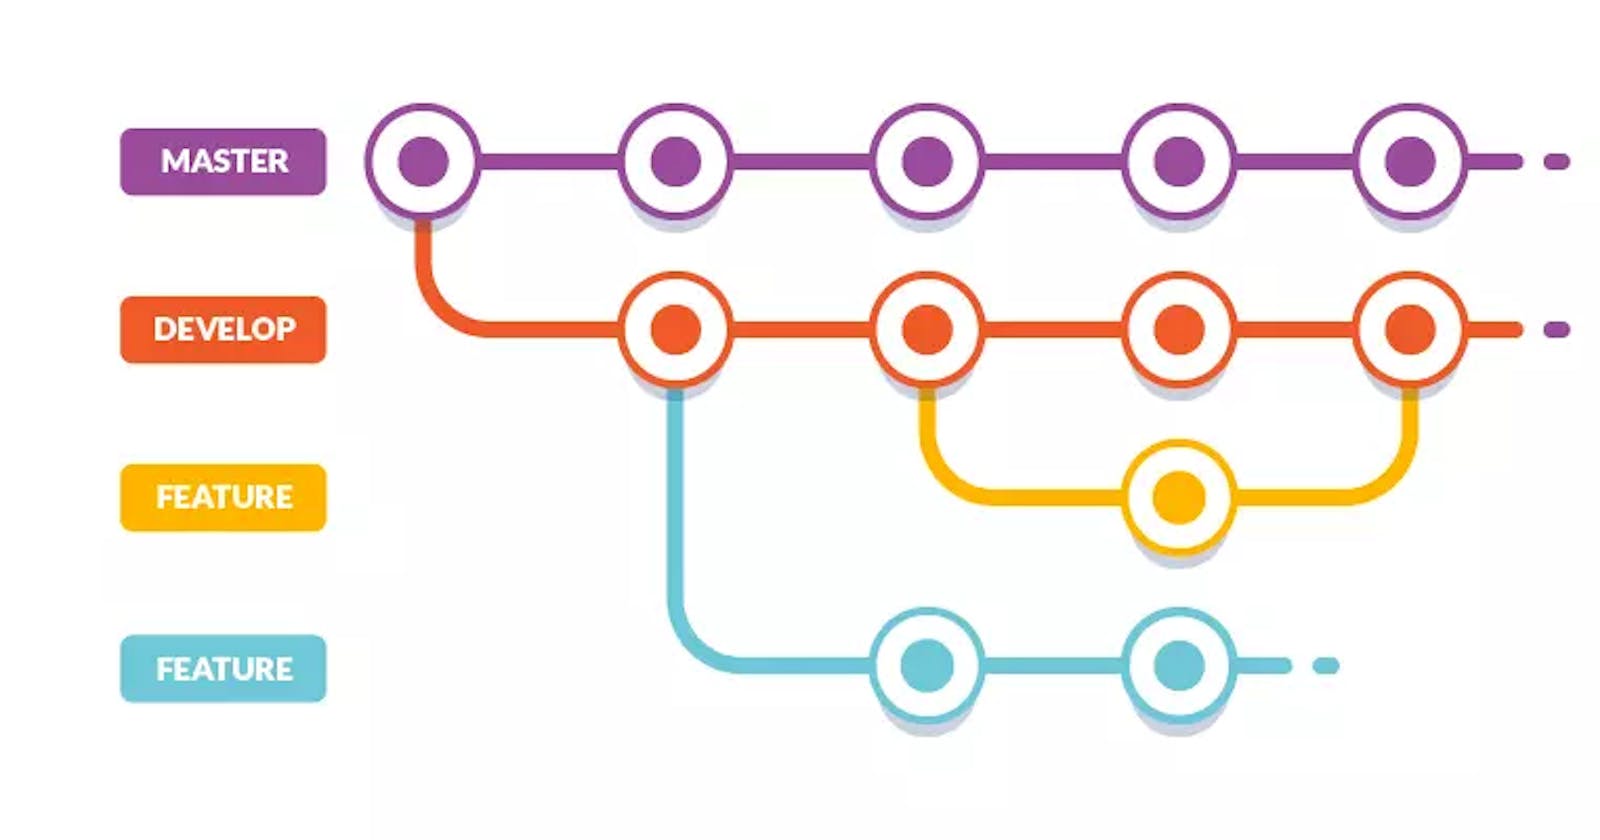
Table of contents
In Part 1, we covered some basics of GitHub and Git and created our first repository. To learn more, feel free to explore Part 1.
In this section, we'll learn about branching, pull requests, and merging. These features are crucial for collaboration and version control. We'll cover them in detail and practice hands-on to grasp their functionality. Let's begin!
Branching:
First, we are going to talk about branching.
Branching is a powerful feature in Git and GitHub that allows you to create separate lines of development within a repository. It enables you to work on different features, bug fixes, or experiments without affecting the main codebase.
Here's a brief overview of some common commands and their explanations for branching in GitHub:
Create a new branch:
Command:
git branch <branch_name>Explanation: This command creates a new branch with the specified name based on the current branch.
Example:
git branch devOutput:

List all branches:
Command:
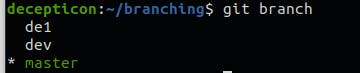
git branchExplanation: This command lists all the branches in the repository, highlighting the current branch.
Example:
git branchOutput: Based on the provided screenshot, it is apparent that the current branch is "master" as highlighted.
Switch to a branch:
Command:
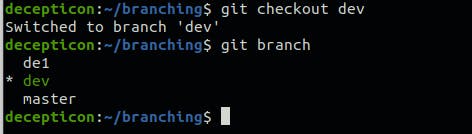
git checkout <branch_name>Explanation: This command switches to the specified branch, allowing you to start working on it.
Example:
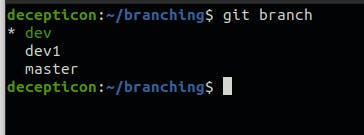
git checkout devOutput: From the given screenshot, you can see that now I am currently in the "dev" branch.
Please note that an alternative command for switching branches is
git switch <branch_name>.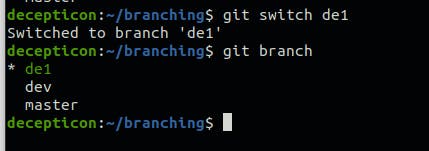
Create a new branch and switch to it:
Command:
git checkout -b <branch_name>Explanation: This command creates a new branch with the specified name and immediately switches to it.
Example:
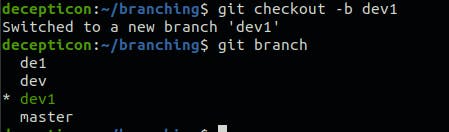
git checkout -b dev1Output: As shown, a new branch named "dev1" has been created, and we have switched to this branch successfully.
Delete a branch:
Command:
git branch -d <branch_name>Explanation: This command deletes the specified branch. Note that you cannot delete the branch you are currently on.
Example:
git branch -d de1Output: The "dev" branch has been deleted.
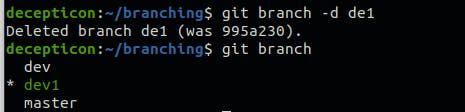
But the "dev1" branch is not deleted since we are currently on the "dev1" branch.

Pull Request:
Pull requests (PRs) are a way to propose changes and collaborate on code within a Git repository. They allow team members to review, discuss, and provide feedback on the proposed changes before merging them into the main codebase.
To create a pull request, follow these steps:
Make sure you are on the branch where your changes are located (e.g., "dev").
Push the branch to the remote repository:
Command:
git push origin <branch_name>Explanation: This pushes the branch to the remote repository on GitHub.
Example:
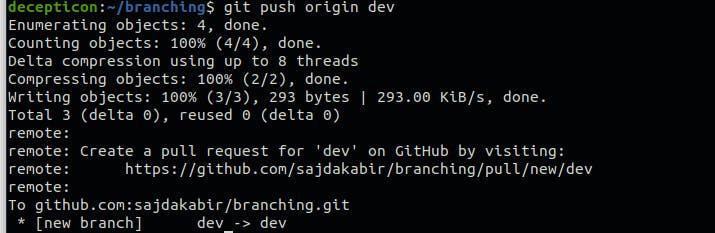
git push origin devOutput:
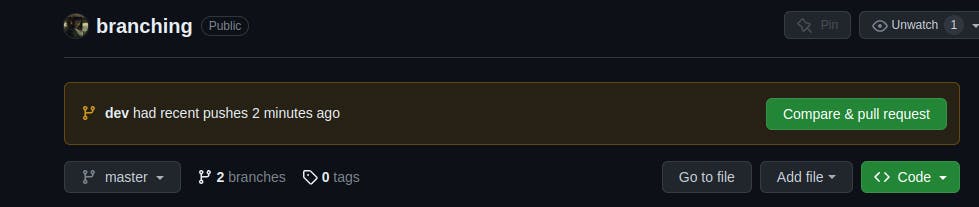
On the GitHub repository page, locate the branch you pushed and click on the "New pull request" button.
Provide a meaningful title and description for the pull request, explaining the changes you made.
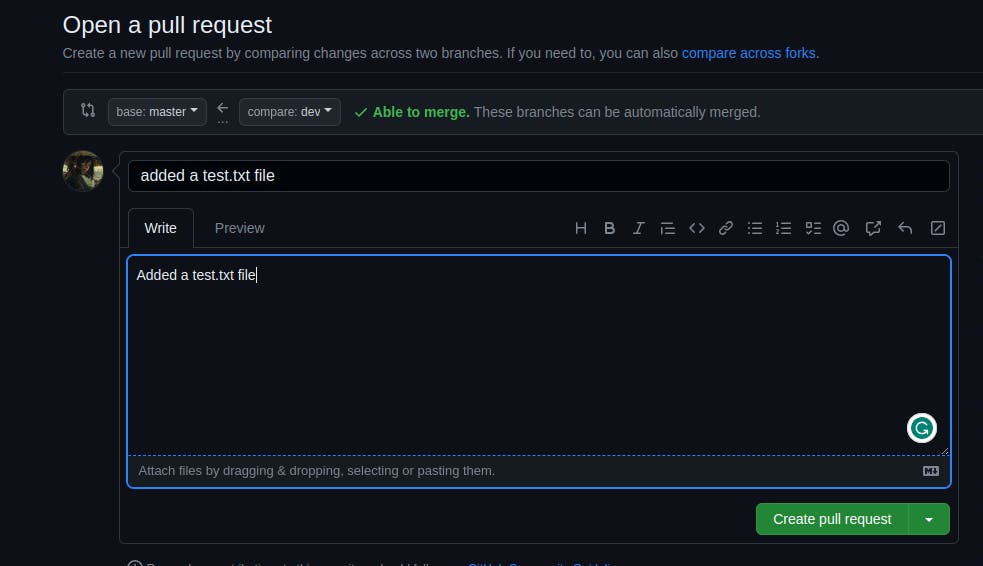
Select the base branch (typically the main branch or master) and the branch containing your changes.

Now at last click on the "Create pull request" button and you are done.
Merging:
Merging combines the changes from one branch into another. After a pull request is reviewed and approved, you can merge it into the target branch (e.g., main) to incorporate the changes.
Here's how to merge a pull request:
On the GitHub repository page, navigate to the pull requests.

Here you can see all the Pull requests.
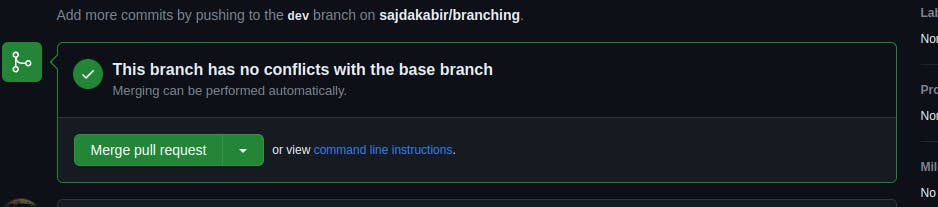
Verify that the changes are correct and ready to be merged.
Click the "Merge pull request" button.
Once the pull request is merged, the changes from the branch will be incorporated into the target branch.
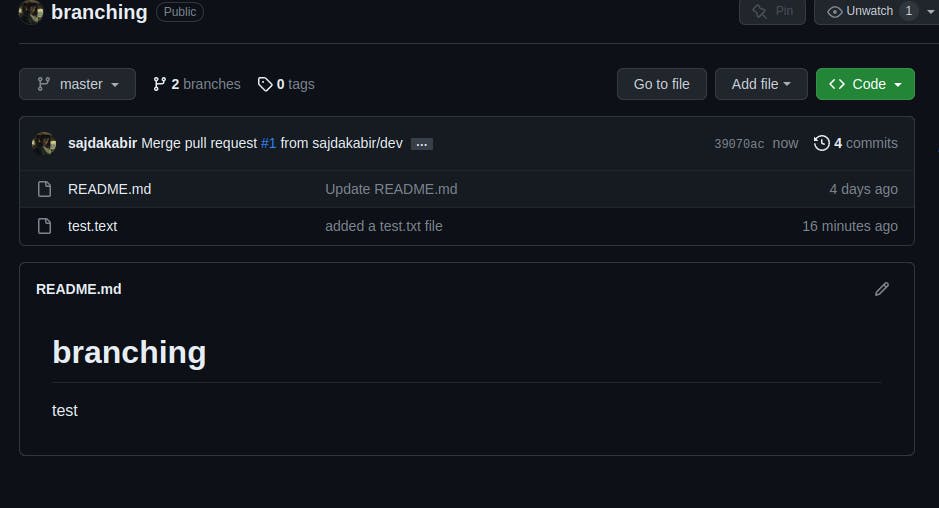
As seen, the "test.txt" file is now present in the master branch.
Oh, congratulations! Now you are ready to contribute to open source.
Happy contributing! 🎉